Passer au contenu Passer au menu de navigation

Affûter une chaîne de tronçonneuse

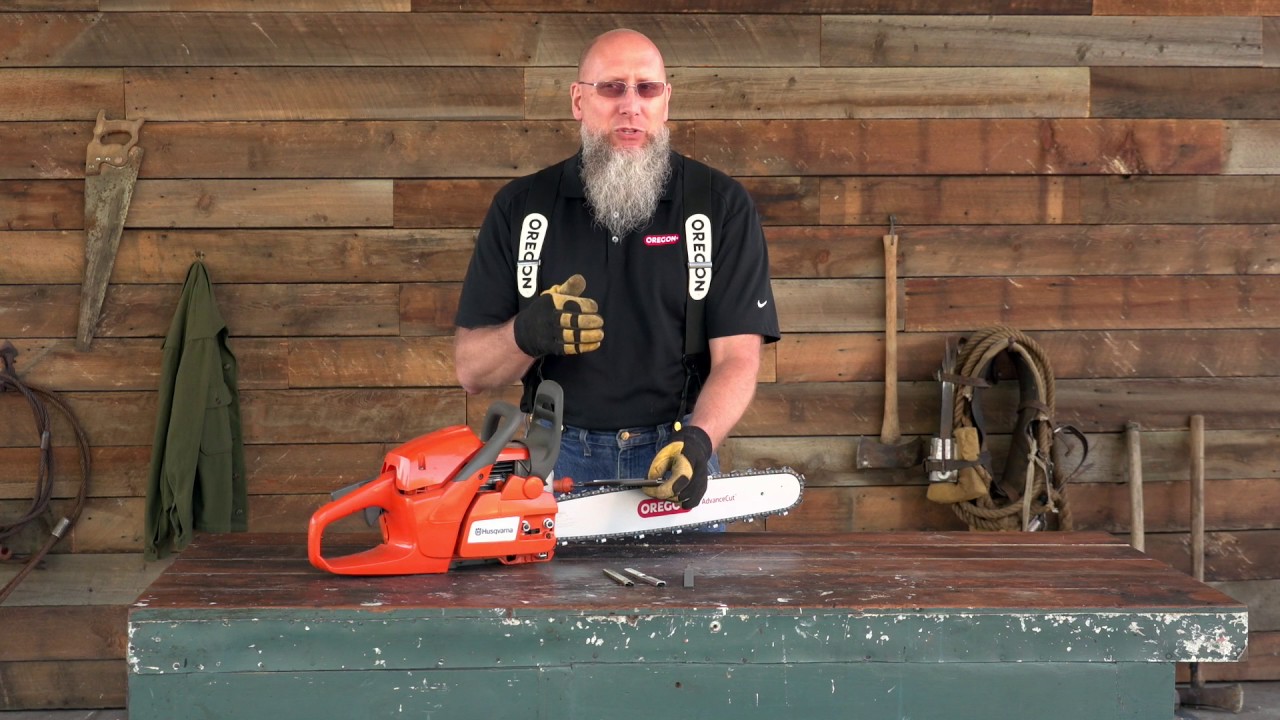
Vidéo Comment affûter une chaîne de tronçonneuse

Il existe deux méthodes principales que vous pouvez utiliser pour affûter la chaîne de tronçonneuse à la main en utilisant une lime ronde ou une affûteuse électrique. Une troisième méthode, le limage carré, est uniquement destinée aux chaînes à profil de gouge carré utilisées pour couper de grands arbres. Se reporter au manuel de votre affûteuse pour la mise en place et les instructions de réglage. Affûtez votre chaîne afin qu’elle soit conforme aux recommandations du fabricant. 

Composantes d’une gouge

Composantes d’une gouge

1. Platine supérieure
2. Coin d'attaque
3. Platine latérale
4. Goulet
5. Limiteur de profondeur
6. Talon
7. Trou de rivet
8. Semelle avant
 

Préparation pour l’affûtage d’une chaîne de tronçonneuse

Si vous avez des questions sur l’affûtage de votre chaîne Oregon, appelez notre service technique au numéro +44 1684 855 490, du lundi au vendredi, de 8 h 30 à 16 h 30.

Étape 1

Étape 1

Assurez-vous que votre tronçonneuse est en arrêt avant d’effectuer toute opération de maintenance. Avant d’affûter votre tronçonneuse, vous devez connaître le type de chaîne et les spécifications de d’angle d’affûtage. Vous pouvez trouver ces informations dans le manuel d’utilisation de votre tronçonneuse ou sur l’emballage de la chaîne. Le code d’identification de la chaîne est généralement écrit sur le maillon d’entraînement. Si vous ne connaissez pas le type ou le numéro de votre chaîne, demandez à votre revendeur de chaîne Oregon ou appelez notre service technique au numéro +44 1684 855 490
Étape 2

Étape 2

Portez votre équipement de protection, y compris des gants et des lunettes. Si vous affûtez la chaîne alors qu’elle est attachée au guide de la tronçonneuse, commencez par vérifier qu’elle est tendue correctement.
Étape 3

Étape 3

Essuyez l’huile et la graisse de la chaîne. Cette étape empêchera l’accumulation de graisse sur les dents de la lime ou sur la meule lors de l'affûtage.
Étape 4

Étape 4

Inspectez la chaîne de la tronçonneuse pour vérifier qu’elle n’est pas endommagée. Voici ce que vous devez rechercher :
  • Installation correcte des attaches et des maillons d’entraînement
  • Gouge, platine supérieure de gouges ou maillons d’attaches, fissurés ou cassés
  • Maillons d’entraînement tordus, fissurés ou brûlés
  • Graves dégâts abrasifs
  • Chaîne anormalement usée
  • Motifs d’usure pouvant indiquer un guide ou un pignon usé. Pour plus d’informations, consulter le manuel Oregon de maintenance et de sécurité des chaînes de scie.
  • Rivets desserrés (essayez de faire tourner les rivets avec vos doigts. Si vous n’y parvenez pas, cela signifie qu’ils sont trop desserrés).
Étape 5

Étape 5

Si vous affûtez votre chaîne de tronçonneuse à la main, choisissez et utilisez le bon porte-lime et la bonne lime pour celle-ci.  C’est le moyen le plus simple de limer la chaîne de tronçonneuse.
Étape 6

Étape 6

Si la chaîne est cassée, réparez ou remplacez-la. Ensuite, vérifiez et réglez le limiteur de profondeur. Affûtez votre chaîne selon les recommandations du fabricant, en la maintenant en équilibre.

Affûter avec une lime ronde

Le but de l'affutage est d'éliminer tous les dommages, tout en maintenant la chaîne de la tronçonneuse bien équilibrée.

Étape 1

Étape 1

Serrez le frein de chaîne, puis serrez légèrement le guide de tronçonneuse dans l’étau. Ensuite, relâchez le frein de chaîne pour pouvoir faire tourner la chaîne à la main (assurez-vous de porter des gants).
Conseils concernant les outils

Conseils concernant les outils

Actionnez le frein de chaîne en poussant la protection supérieure vers l’avant. Tirez la protection vers l’arrière pour désengager.
Étape 2

Étape 2

Si vous utilisez un porte-lime, placez-le sur la chaîne avec la lime dans le goulet (entre la gouge et le limiteur de profondeur). Assurez-vous que le porte-lime a deux points de contact, un sur la platine supérieure de la gouge et l'autre sur le limiteur de profondeur.
Étape 3

Étape 3

Maintenez la lime au bon endroit de sorte que 1/5 po ou 20 % du diamètre de la lime soit positionné au-dessus de la plaque supérieure de la gouge. L’utilisation d’un porte-lime Oregon est le moyen le plus simple de maintenir la lime dans cette position. Vérifiez si l’angle de limage de la plaque supérieure doit être parallèle à l’axe de la chaîne de tronçonneuse.
Étape 4

Étape 4

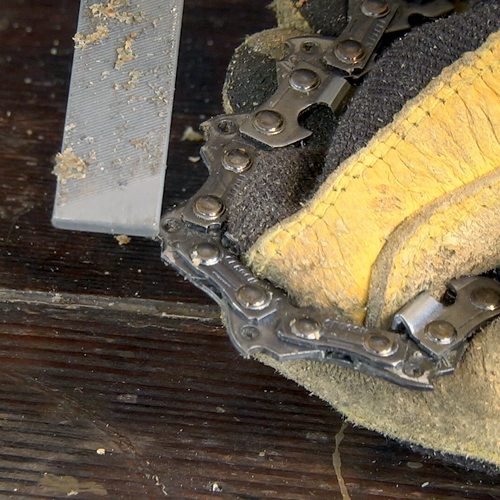
Repérer les gouges présentant le plus de dommages. Affûtez en effectuant des mouvements continus, réguliers (avec toute la longueur de la lime), afin d'éliminer les dommages tout en comptant le nombre de coups de lime. Vous saurez que les dommages sont éliminés lorsque la surface de la gouge est brillante et argentée. Limez toutes les gouges avec le même nombre de coups par gouge de l’intérieur vers l’extérieur de sorte que les longueurs des gouges soient égales. 
Étape 5

Étape 5

Finissez de limer toutes les gouges sur un même côté de la chaîne, avant de tourner votre chaîne pour changer de côté. Limez en partant de l’intérieur de chaque gouge vers l’extérieur. Limez toutes les gouges sur un côté de la chaîne. Une fois que vous avez terminé, retournez votre chaîne pour répéter le processus pour l’autre côté. N’oubliez pas de garder la même longueur pour toutes les gouges.
Étape 6

Étape 6

Ré-affutez pour retirer les dommages et garder les platines supérieures de longueur égale. Revérifier les limiteurs de profondeur.

Affûter une chaîne de tronçonneuse avec un affûteur électrique Oregon

Étape 1

Étape 1

Vérifiez la forme de la meule de l’affûteuse. 

 
Conseils concernant les outils

Conseils concernant les outils

Avant d’installer une meule neuve ou usagée, vérifiez-en l’intégrité en la tapotant avec un objet métallique, comme une clé Allen. Si vous entendez un bruit sourd, la meule peut être endommagée de l’intérieur et il peut être nécessaire de la remplacer.
Étape 2

Étape 2

Réglez l'étau sur l’angle d'affûtage de la platine supérieure correspondante. Consultez le manuel de votre affûteuse pour savoir comment procéder. Nous vous suggérons d’affûter votre chaîne afin qu’elle réponde aux recommandations du fabricant.
Étape 3

Étape 3

Utilisez l’angle de coupe recommandé pour la platine supérieure, pour régler l’angle de la tête de l'affuteuse.
Étape 4

Étape 4

Vérifiez que la poignée de blocage de l’étau est bien serrée et que la chaîne est bloquée. Mettez en marche l’affûteuse électrique. Affûtez la gouge en abaissant l’unité bras-moteur. Conseil : utilisez un mouvement d'affûtage rapide pour minimiser la surchauffe de la surface.
Étape 5

Étape 5

Lorsque vous avez terminé d’affûter la gouge, soulevez le bras et desserrez la poignée. Faites tourner la chaîne vers l’avant pour positionner la prochaine gouge à affûter.
Étape 6

Étape 6

Rebloquer avec la poignée et affûter. Lorsque toutes les gouges sont affûtées, éteignez la machine et débranchez le câble d’alimentation. Dressez souvent les meules d'affutage pour maintenir une forme correcte. Utilisez soit un outil de dressage rotatif, soit une pierre de dressage.


Tips for After Sharpening a Chainsaw Chain

Step 1

Step 1

Check and adjust depth gauges.
Step 2

Step 2

Start by cleaning off any debris from the chain, and then thoroughly lubricate it with chainsaw bar and chain oil. For optimal results, soak the chain overnight in the bar and chain oil.
Step 3

Step 3

After sharpening the saw chain, make sure to store it in a container with lubricant so that it's ready for its next use.
Learn More about Square-Ground Filing

Learn More about Square-Ground Filing

The term "square-ground filing" refers to the process of using a file to sharpen square-ground chain by hand. This technique can be more challenging than round filing and demands different methods. Achieving precise corner alignment and filing angles is crucial due to the reduced margin for error with square-ground chain. Becoming proficient in square-ground filing may take some time. It's common for beginners to not get it right on their first try, so don't be discouraged if your chain doesn't initially perform as expected.

FAQ


When Should You Perform Square-Ground Filing?

Square-ground filing is typically not necessary for most chain saw operators, as square-ground chain is not commonly used. This type of chain is specifically designed for cutting larger trees with longer guide bars. While square-ground filing can be more challenging and offers less margin for error, the performance benefits of using square-ground chain for cutting timber can outweigh these drawbacks.


Things to Keep in Mind the First Time You File Square-Ground Chain

When filing a square-ground chain for the first time, it's best to work in a well-lit and stable environment, such as a shop with a workbench. It's recommended to start with a square-ground chisel chain that still has its factory grind. Do not use an old chain – especially one that has been previously filed as it may still have gullet material attached that needs to be removed.


Tip: Using a second, new square-ground chisel chain as a reference point can be helpful for understanding what the cutter teeth should look like.
 

Three Rules for Sharpening Square-Ground Chain

  1. Keep the corner of the file aligned with the cutter’s tooth
  2. Maintain the angles of the cutter’s tooth
  3. Repeat the same angles on every tooth; all cutters need to be the same.


Where to Position the Square File

What does a square file do? A square file sharpens the top-plate and the side plate, simultaneously.

This creates a line, (A), where the top-plate cutting angle meets the side-plate angle. For the best results, file the cutter so that the line intersects the cutting corner (B).
To properly sharpen the cutter, use the correct filing position, as shown from three different points of view. 

Square Filing Tip

Before you start filing, position your square file next to the face of a cutter tooth. Choose the corner of the file that will align with the corner of the cutter tooth. Once the corner is aligned, adust the file on its other axis so the other surfaces match up. Refer to the graphics above to ensure you have the correct filing position.
 

Which Direction Should You File a Square-Ground Chain In?

Which Direction Should You File a Square-Ground Chain In?

Once you've positioned your file, it's time to start sharpening.

The square saw chain should be filed from the outside in, in a downward direction, as this leaves a better edge on the chromed cutting surfaces and makes it easier to maintain the file’s position, and the resulting cutting edges, in correct alignment. However, filing from the outside in will wear out your file faster.

Some square saw chain users may prefer to file from the inside out, in an upward direction although this method is more challenging.

Regardless of the direction you choose, ensure that your file and cutting edges stay positioned as shown in the previoussection. File all cutters on one side of the saw chain, then reverse the saw chain and repeat the process, using the same file positions for cutters on the opposite side of the saw chain.

Sharpening with a Square File

When sharpening with a square file, start by aligning your angles. Take a few file strokes with the file, then inspect the cutter tooth for marks where the steel has been removed. Adjust the file based on what you see and continue sharpening until the tooth looks as sharp as the reference chain.
 

Once the first tooth is sharp, repeat the process for the rest of the teeth on the chain. It's important to ensure that each tooth is sharpened identically to maintain a consistent cut. Inaccuracies in tooth size can cause the chain to vibrate and cut unevenly. Avoid relying solely on the number of file strokes, as different strokes may remove varying amounts of material.
 

What Kind of Square File Should You Use?

What Type of Square File Should You Use?

There are three different types of square files: hexagon, double bevel, and “goofy”.

The most common file type is the hexagon shape, also known as the “triangular chisel file”. As the name suggests, a hexagonal file has six sides, with three corners acting as the filing edge. Among the three file types, the hexagonal file is the smallest in size and usually fits well into 3/8” pitch chain.

The other two file types – double bevel and “goofy” have two corners for sharpening and can also be used to lower depth gauges with surfaces on the top and bottom of the file.

Only use files specially designed for square-ground chisel cutters, which are available from your chainsaw dealer.

File Gullet

Why Should You Clean the File Gullet?

Why File Gullet?

Approximately every fifth sharpening, you will need to clean out the gullets by filing them with a 7/32" round file. When filing, work from the inside-out (the side opposite the direction of sharpening), and always leave a 1/8" shelf behind the gullet. If you do not clean the gullets regularly, the outer edge will eventually prevent the working corners of your cutters from getting an adequate bite into the wood.
Correct Gullet Filing (Right)

What's the Correct Way to File the Gullet?

When correctly filing the gullet, ensure there is enough clearance between the working corner and the gullet’s outer edge. Some square-ground chain users may prefer filing from the inside out, in an upward direction, but it's much more difficult. Whichever direction you choose, ensure your file and cutting edges are positioned as shown. File all the cutters on one side of the chain, then reverse the chain and repeat the process.
Incorrect Gullet Filing (Wrong)

Incorrect Gullet Filing

If the gullet is filed the wrong way, there will be little to no clearance between the working corner and the gullet’s outer edge.

FAQ

How do I sharpen my chainsaw chain?

There are two main methods you can use for sharpening chainsaw chain by hand, using a round chainsaw file or an electric chainsaw grinder. You can learn how to properly sharpen chainsaw chain by watching our Technical Tips video.


How do I know when and how often to sharpen my chainsaw chain?

If you notice that your chainsaw is no longer self-feeding, or if you have to push on the saw, it's time to sharpen your chainsaw chain. Additionally, you should sharpen your chainsaw chain if the waste material from your saw creates sawdust. A good rule of thumb is to sharpen your saw chain every time you refill the gas. 
 

Related Topics

Tightening Chainsaw Chain

Tightening Chainsaw Chain

Proper chainsaw chain tension is critical for the performance of your chainsaw. Learn how to check and tighten your saw chain to avoid the risk of kickback and chainsaw related injuries.
Maintaining Chainsaw Chain

Maintaining Chainsaw Chain

Become familiar with proper saw chain maintenance techniques and the possible dangers which can result if saw chain is not properly maintained.
Replacing Damaged Chainsaw Chain

Replacing Damaged Chainsaw Chain

Learn how to properly repair damaged cutter and join chain loops using chain rivet and chain breaker tools.
Setting-Up Your Chainsaw

Setting-Up Your Chainsaw

To get your chainsaw ready for optimal performance, follow these key lubrication and oil usage tips.
Part Finder

Part Finder

Find a full selection of saw chain specifically made to fit your chainsaw.

Product Manuals

We want to make sure you can get your job done right. Check out our Product Operations Manuals. 
Retour au début